Light
One window, five minutes
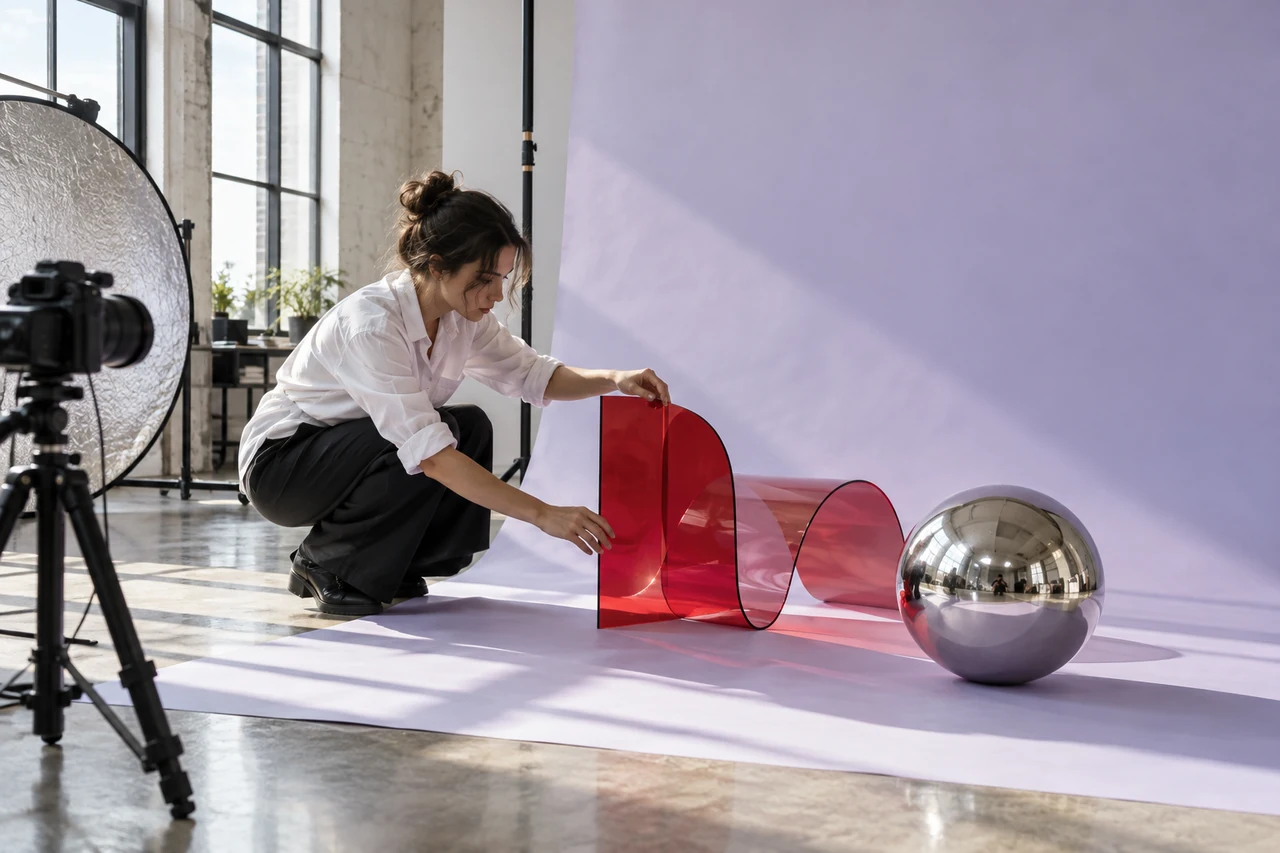
Photograph a translucent object as the light moves. Keep the camera fixed and compare only the edges.
DF-VISUAL / Photography & Art Direction
Photography begins with attention. Art direction gives that attention a reason, a rhythm and somewhere to go.
01 / A useful starting point
Before reaching for a reference, finish this sentence: “The viewer should notice…” A specific observation gives every choice something to answer to.
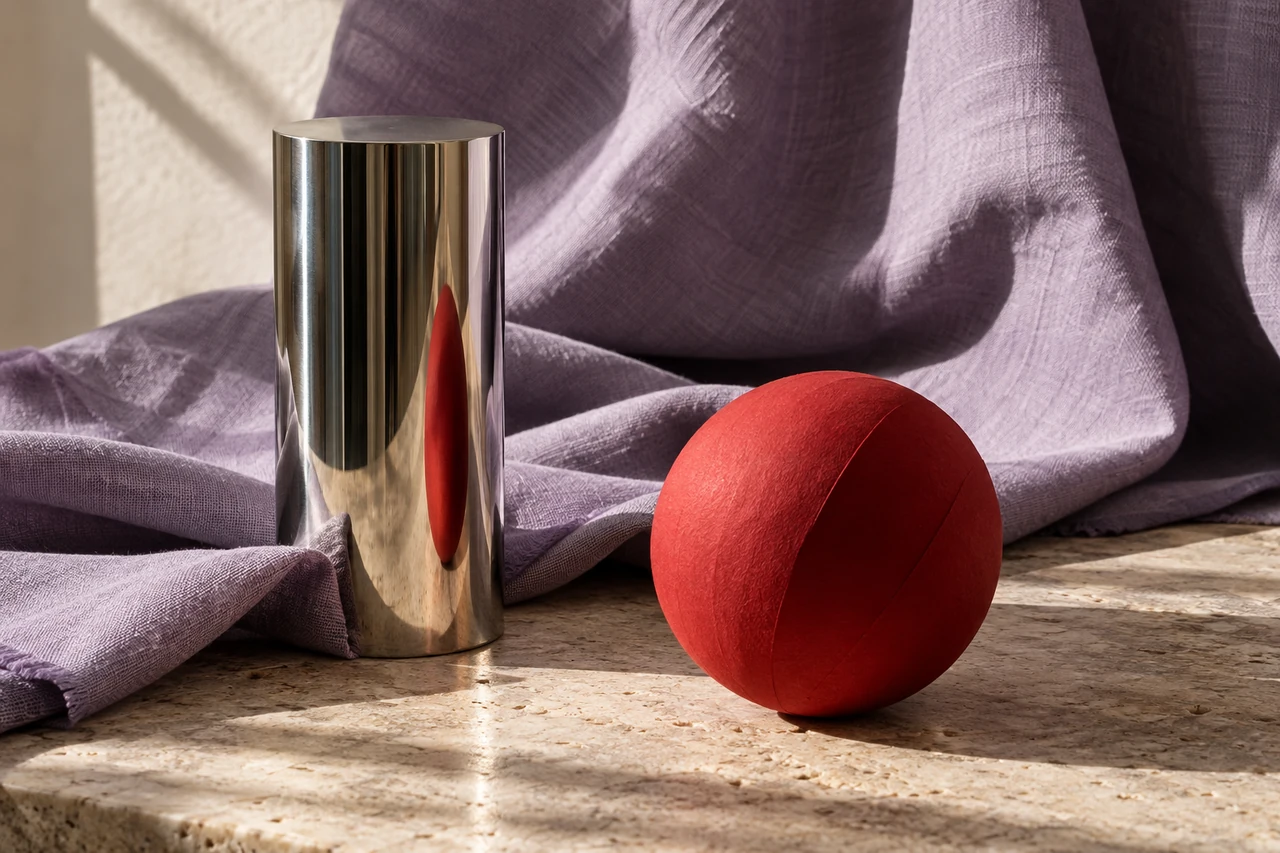
Make an ordinary object feel unfamiliar without hiding what it is.One viewpoint · One light source · One relationship
02 / Working method
A useful study has a variable you can name. Keep the subject fixed while you investigate direction, distance and colour.
Keep the subject still. Move a single lamp around it in a half-circle and record where its surface becomes most legible.
Bring the source closer, then farther away. Watch the relationship between the bright plane and the shadow before changing exposure.
Introduce one coloured surface outside the frame. Reflected colour can create atmosphere without turning every object into a prop.
Choose the feature the viewer should notice first.
Record the camera and light positions before moving anything.
Name the edge, reflection or shadow that changed the reading.
03 / Beyond the first frame
Location, sequence and material each reveal something a single studio view cannot. Give every frame a distinct job.
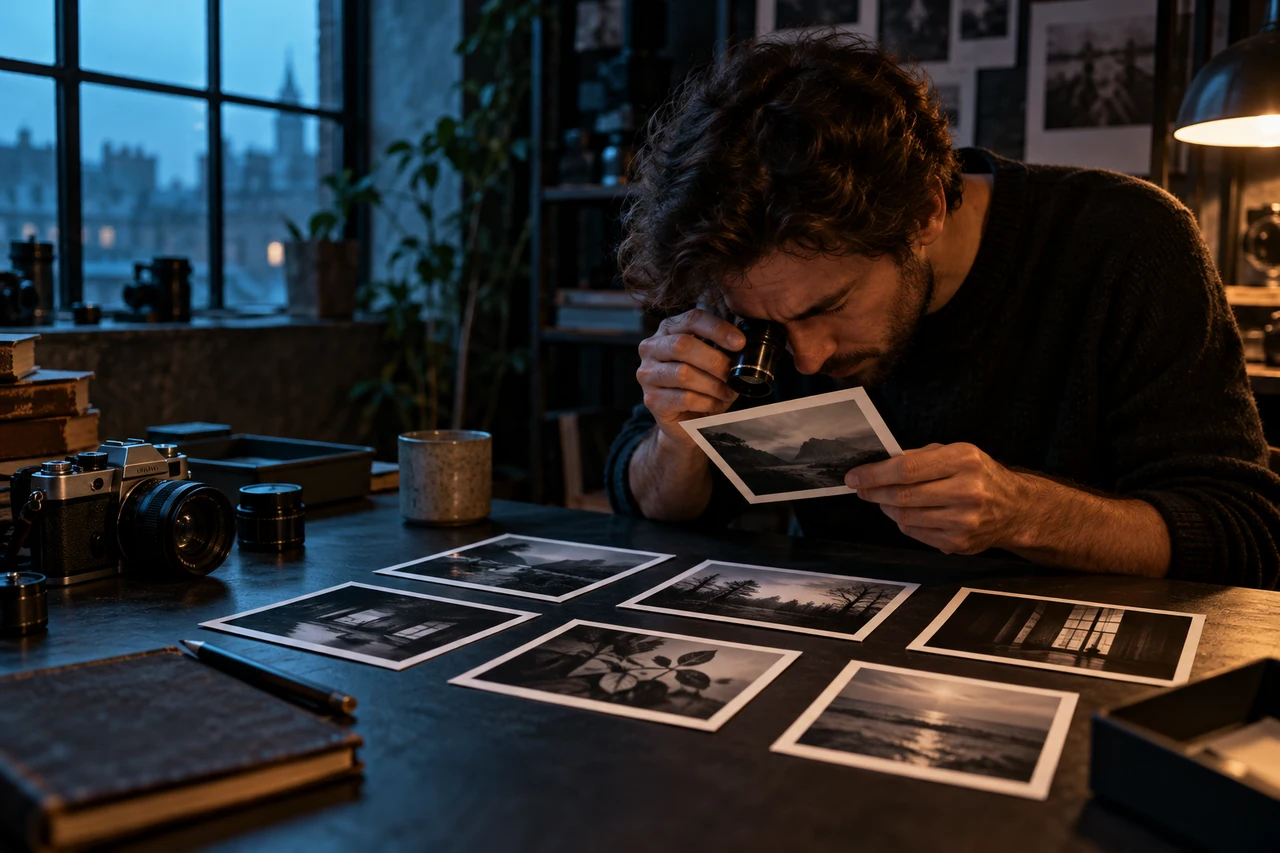
04 / The shape of a sequence
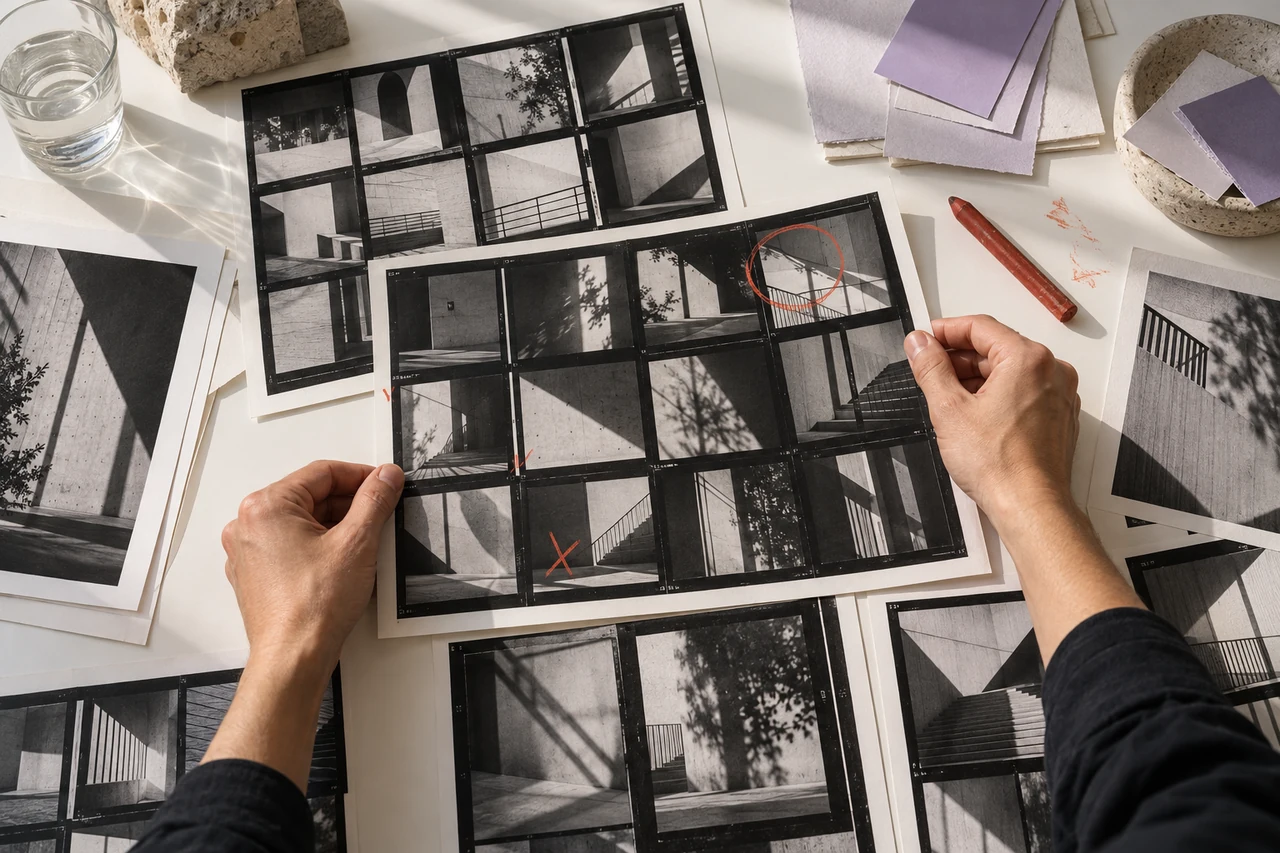
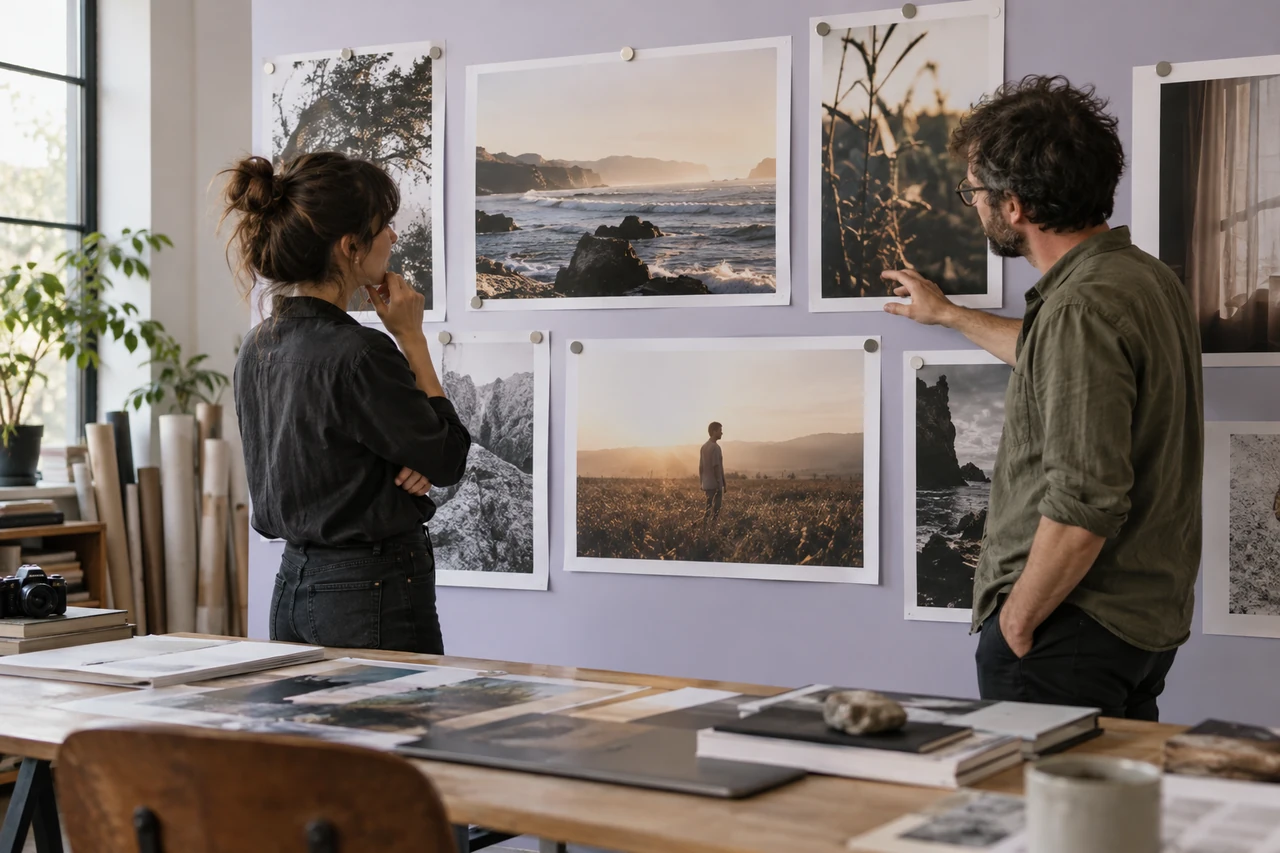
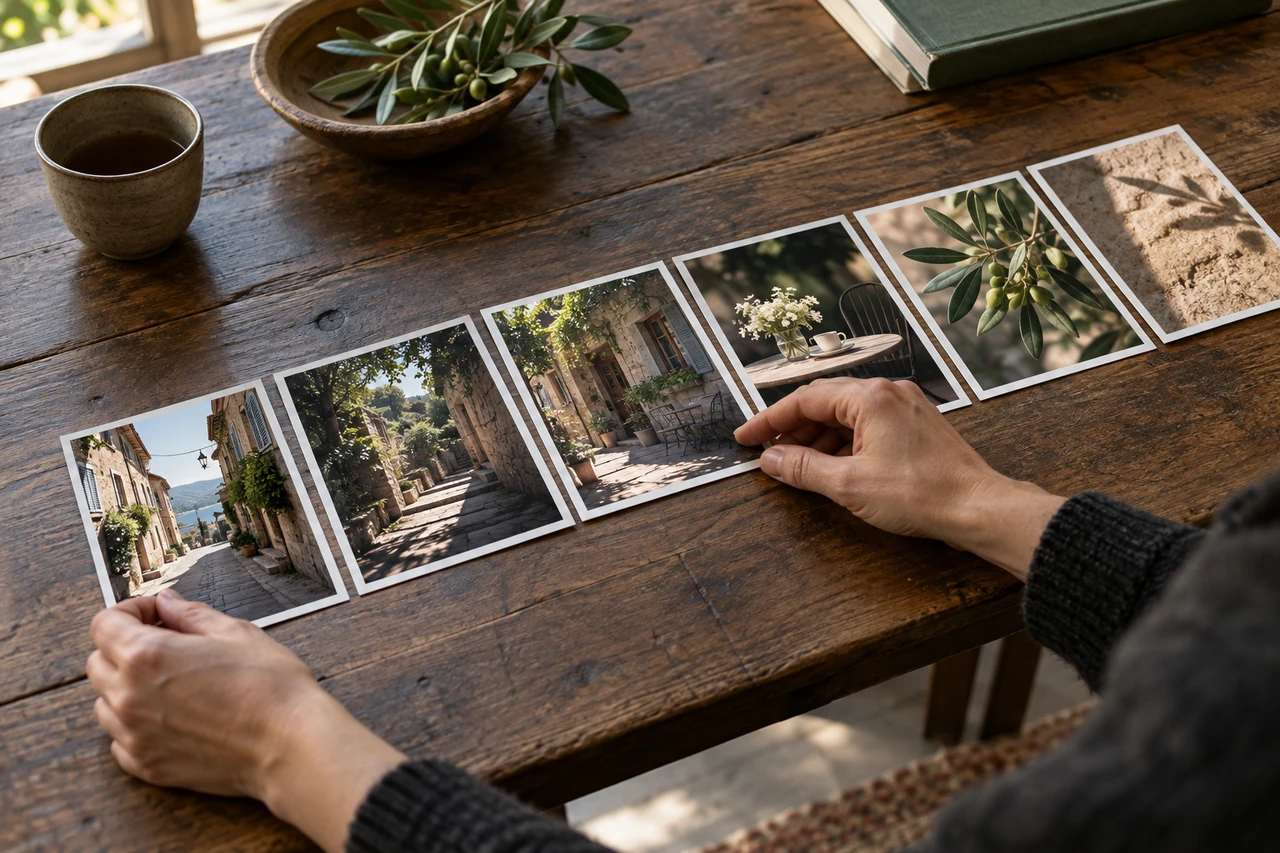
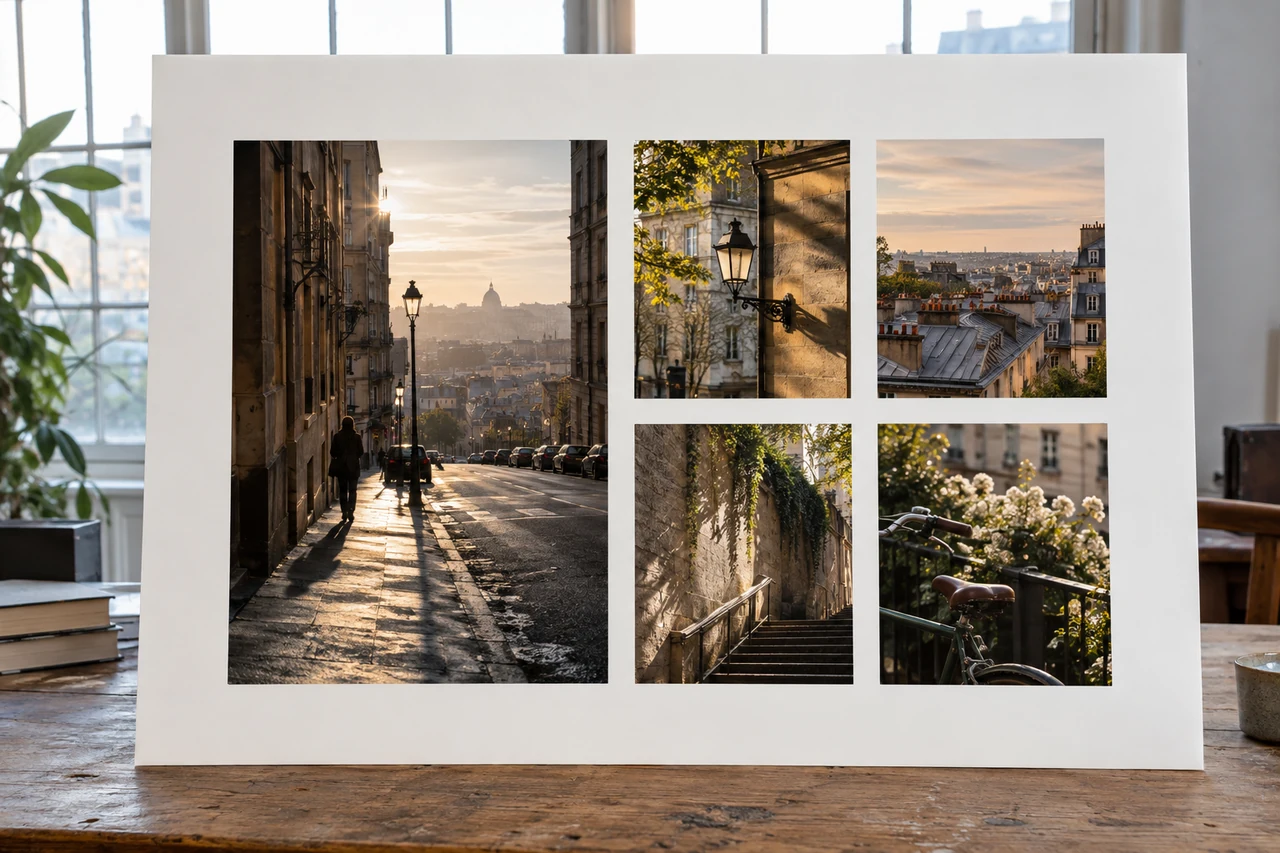
Select for the work an image does. An opening establishes a world; a detail changes its pace.
Show enough of the setting to give the viewer a foothold.
Use a detail to reveal something the wide view leaves uncertain.
Introduce a change in scale, colour or direction.
A quieter picture gives a stronger neighbour room to act.
Close the sequence without explaining away every possibility.
05 / Small decisions, visible effects
Art direction becomes concrete through the choices you can point to.
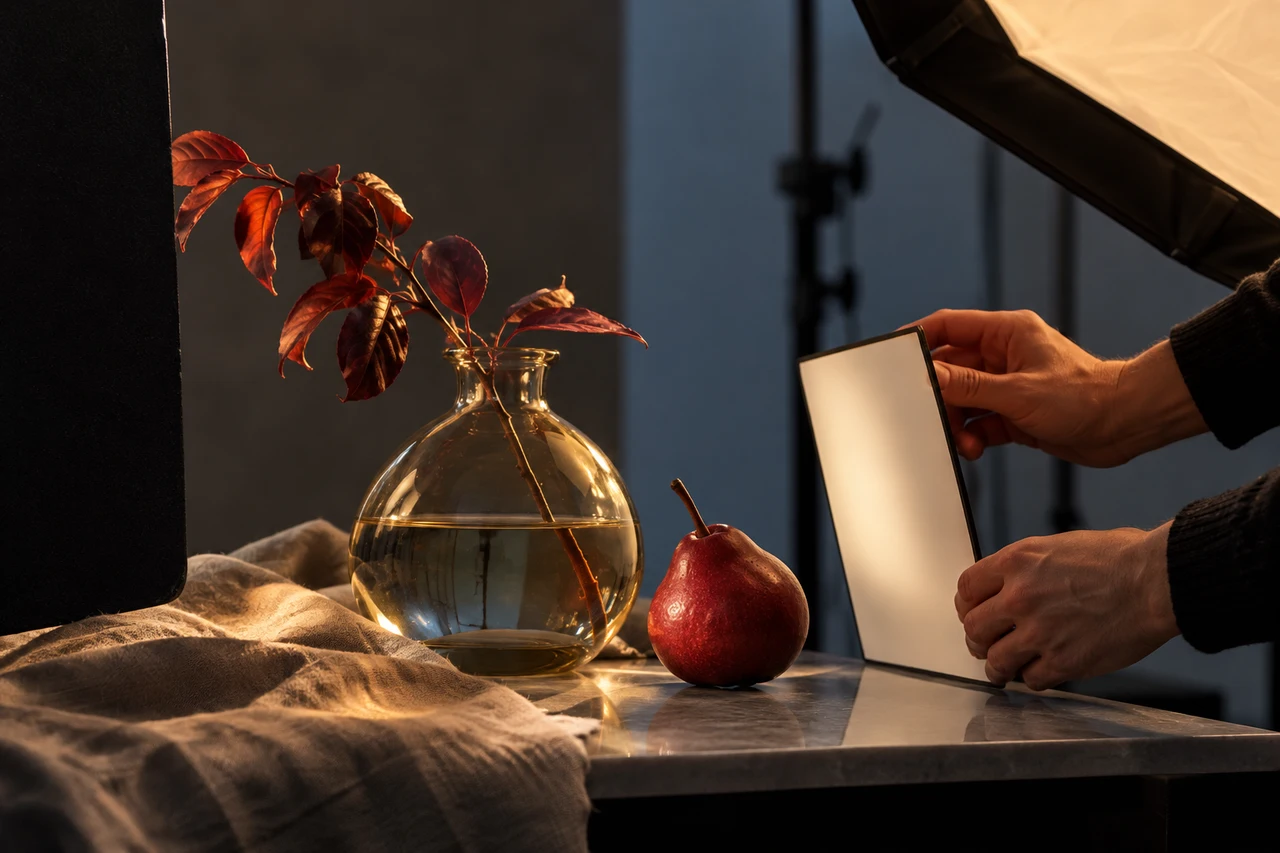
A small white card can reveal a surface that a brighter lamp would flatten.
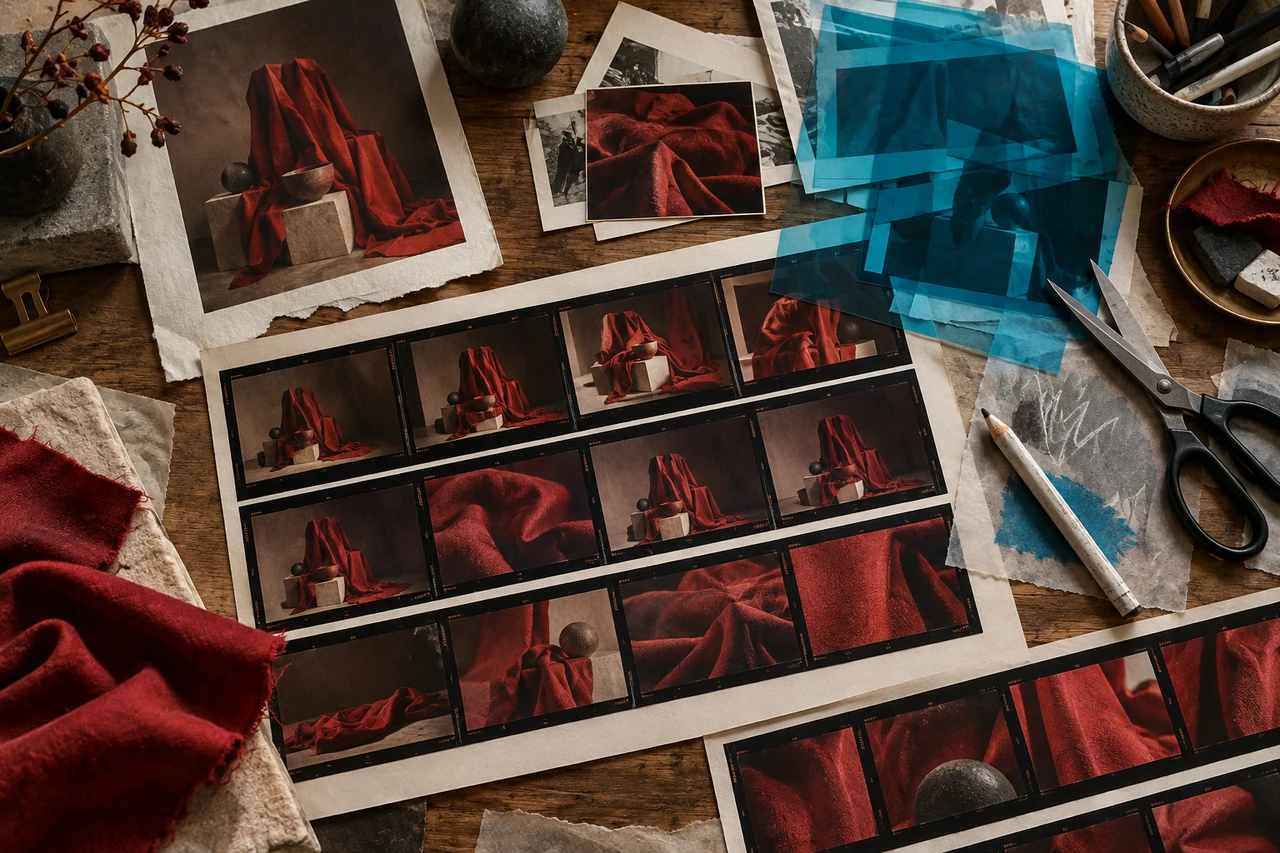
A comparison explains a decision more clearly than a polished result alone.
06 / Assignment shelf
Light
Photograph a translucent object as the light moves. Keep the camera fixed and compare only the edges.
Frame
Build a readable composition with its main subject at the edge. Leave the central space deliberately unoccupied.
Edit
Arrange an establishing view, an interruption and a close detail. Swap the interruption and describe the new meaning.
Frame
Move closer until a familiar object loses its name, then back away until recognition returns.
Light
Use one sheet of white paper to lift a shadow. Photograph the difference without changing the exposure.
Edit
Remove the most spectacular photograph from a set. Does the sequence become clearer or simply quieter?
07 / Before the final selection
Check the work at the scale your audience will see. This list stays on the page.
Read the full guide0 checks complete
08 / A useful conversation
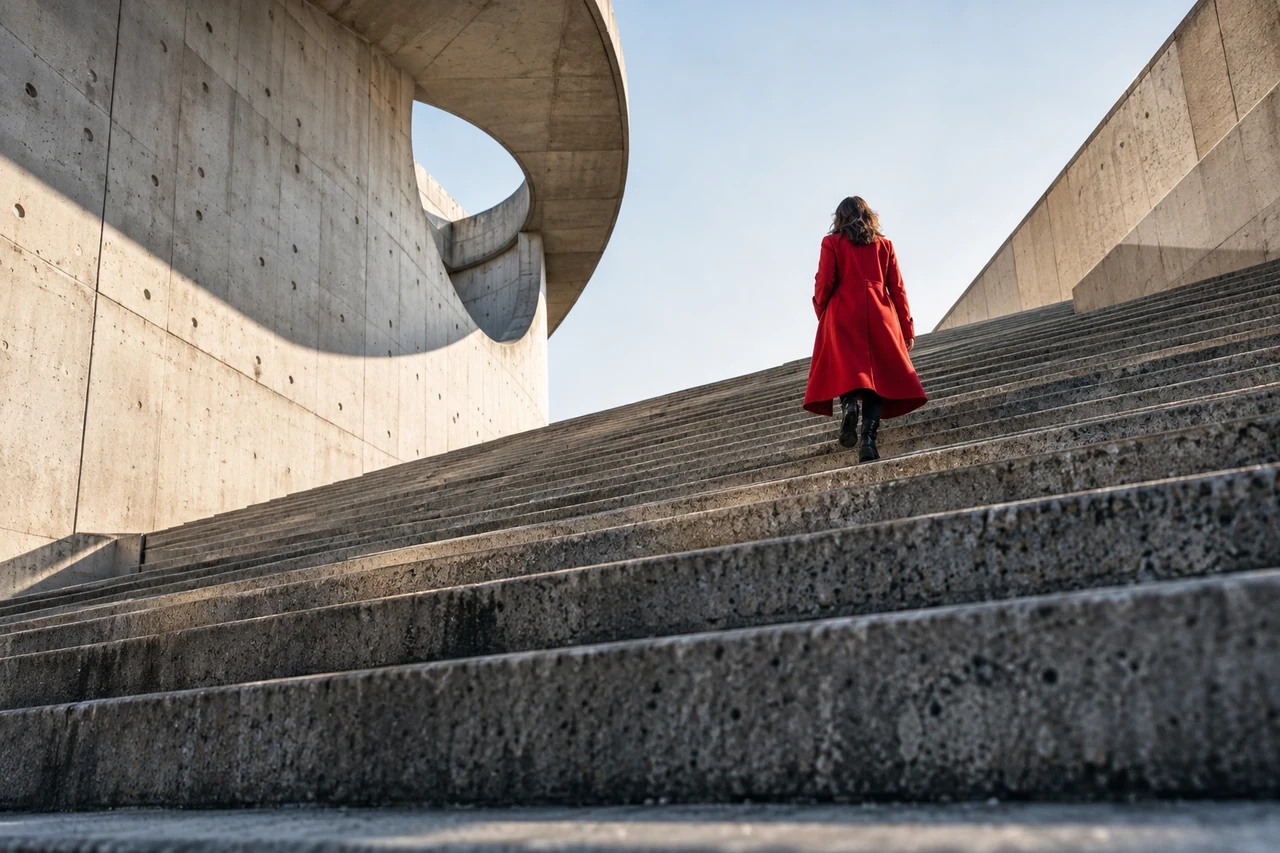
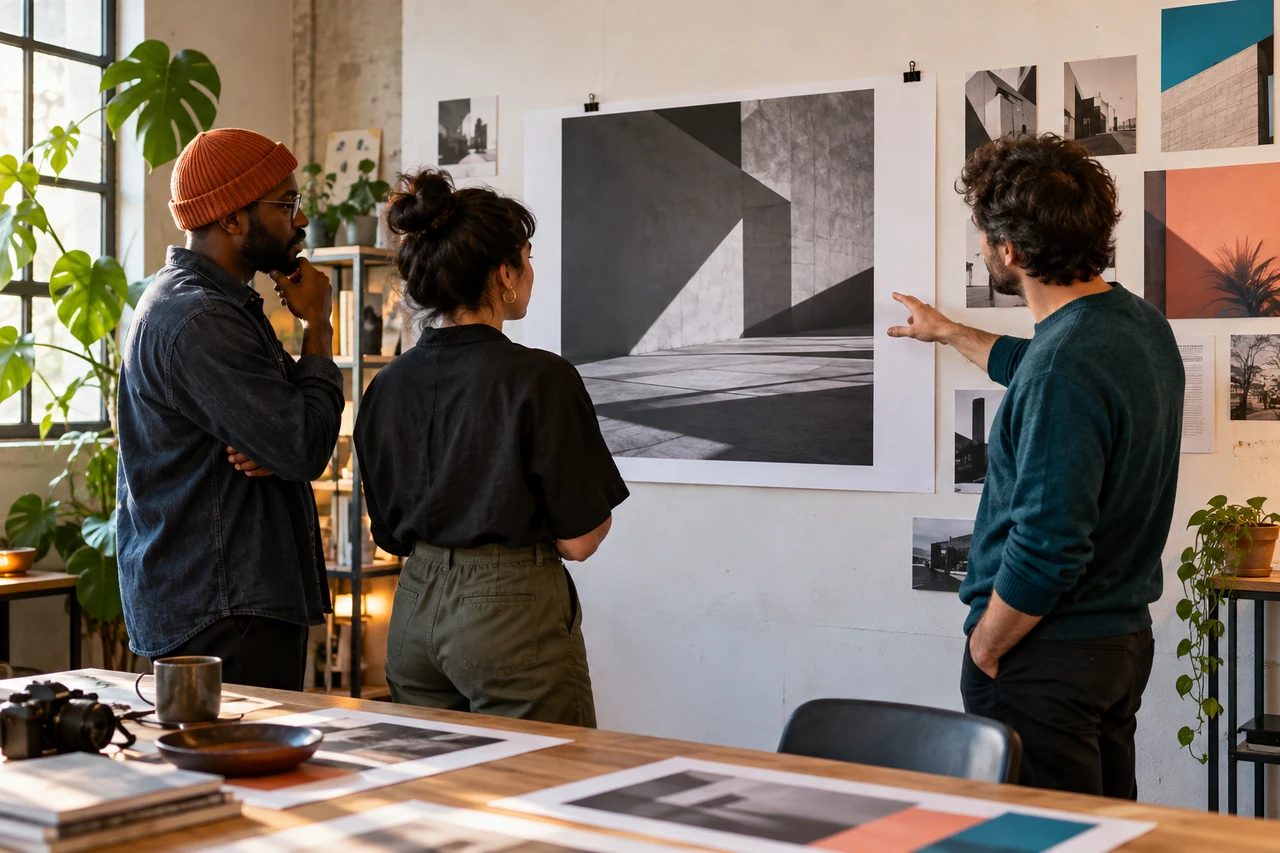
Point to the repeated red, compressed space or figure at the edge.
Describe what that feature makes you think might happen next.
A technically accomplished image can still suggest the wrong story.
09 / At the worktable
A clear question makes a small experiment worth doing.
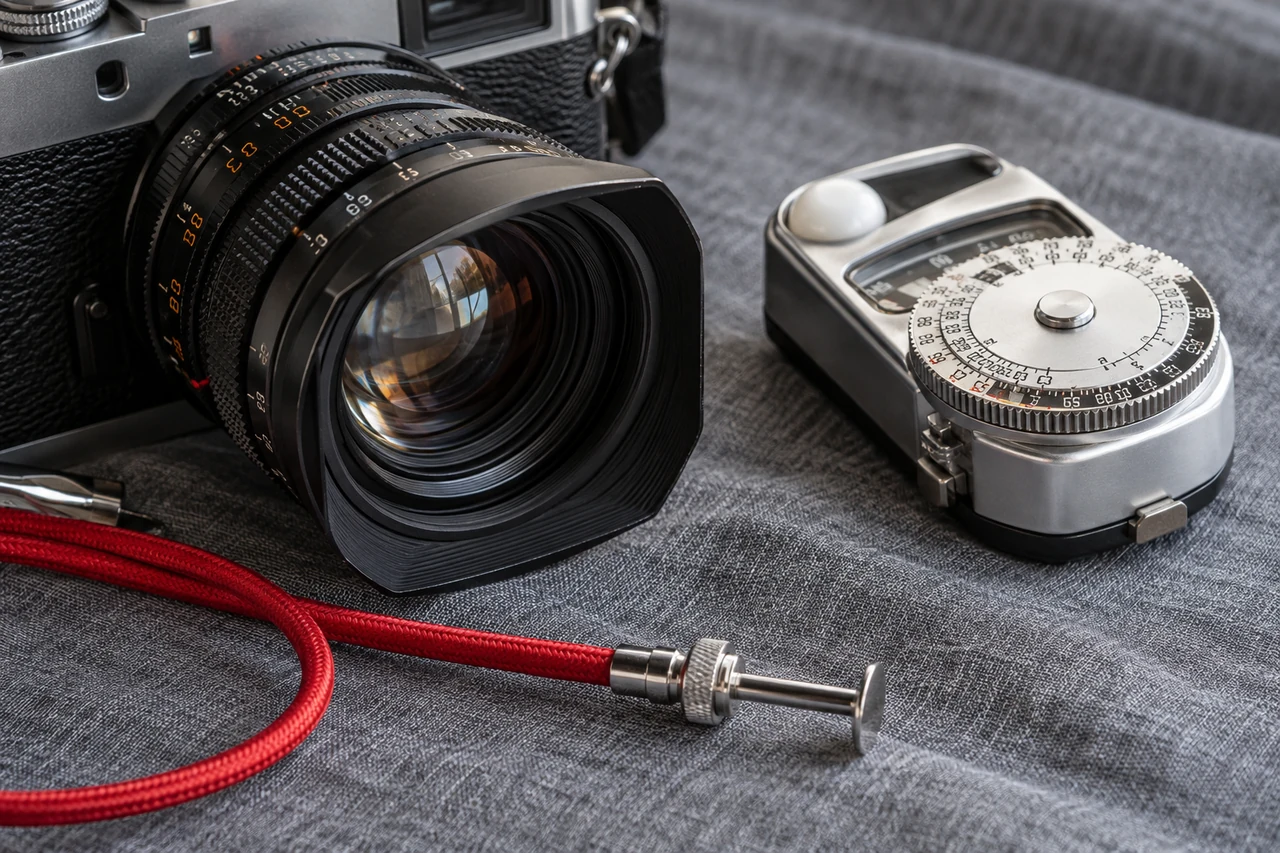
Yes. Fixed exposure, careful framing and a clear intention matter more in these exercises than interchangeable lenses. Avoid switching camera modes during a comparison.
Start with three that solve different problems: one for light, one for spatial organisation and one for sequence. Explain the useful decision in each instead of imitating the entire picture.
The visual studies are original illustrative scenes created for this fieldguide. They demonstrate ideas rather than document client projects or endorse equipment.
State the audience, the desired observation, the output format and the constraints. Leave room for the photographer to discover something the brief could not anticipate.